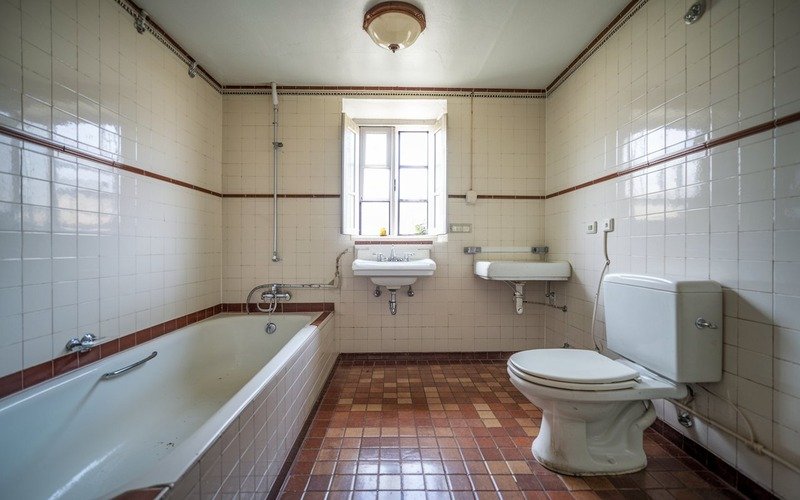
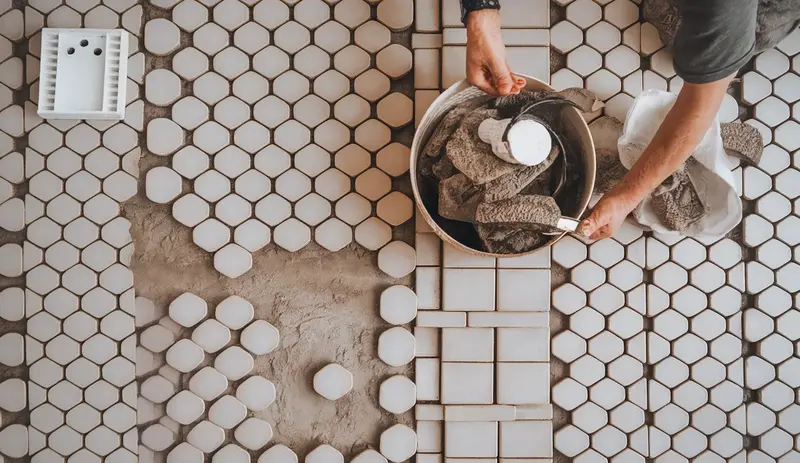
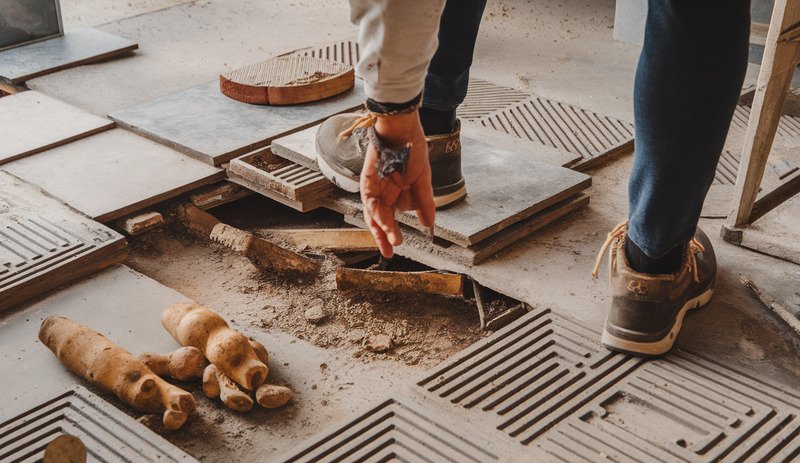
Picture this: You’re ready to transform your kitchen or bathroom, armed with beautiful new tiles and DIY enthusiasm. But then you spot the challenge – electrical outlets, sink pipes, and random wall fixtures that seem determined to complicate your perfect tile layout.
This guide will walk you through every single step of planning your tile installation around those pesky existing fixtures.
Understanding Your Space: The Foundation of Great Tile Work
The most vital step is to know your room thoroughly. When it comes to your measurement, being precise is of utmost importance, and this can’t be done without the essentials of a good tape measure, graph paper, and a good amount of patience.
I always advocate for making a detailed sketch of the room that includes just about every single fixture, outlet, and potential problem in the way of your desired plan. In Plano, Texas, where home renovations are common, precision can save you countless headaches.
Pro Tip: Measurement Matters
Measure two times, cut one time. A millimeter off in your first planning can turn into a major installation headache. I’ve seen too many good folks waste too much money on materials due to poor initial planning.
Mapping Out Fixture Locations: Your Roadmap to Success
Your light fixtures are not merely decorative elements; they are critical parts of your tile layout that must be given careful and serious thought. This means documenting their position, height, and spread with precision.
Key locations to map include:
- Electrical outlets
- Plumbing connections
- Window and door frames
- Built-in features like shower niches or cabinet edges
Cutting and Fitting Techniques: Precision is Key
You’ll need the right tools to cut tiles around fixtures. Your best friend for clean, precise cuts is a wet saw. For small, intricate cuts around outlets or weird angles, tile nippers work great.
Caution: These are dangerous tools. If you are not fully confident in your abilities, it’s safer to hire a professional from a reputable tile installation service.
You May Like To Read: Can Large Format Tiles Be Installed in Older Homes?
Strategic Tile Layout Planning: Creating Visual Balance
Making your tile pattern centered is an important aspect of making your room look good. The effect you want to achieve is an even, symmetrical appearance that doesn’t call attention to any odd little tiles you might have had to cut to fit around a fixture.
My main strategy? Begin at the heart of the room and move outward. This method yields the best overall look and helps with those ins and outs around the obstructions of outlets and plumbing.
Common Mistakes to Avoid
Doing it yourself when it comes to tiling work around fixtures is a potential minefield of errors. The most frequent mistakes include:
– Inaccurate measurements
– Failure to consider grout lines
– Not waterproofing critical areas
– Rushing the cutting process
Water damage, uneven surfaces, and expensive repairs are often caused by errors in this trade.
When to Call a Professional?
Sometimes, it’s better to show discretion than courage. Certain jobs require professional help, especially installations with many fixtures, electrical outlets, irrigation systems, or complex plumbing.
Indications you should consider hiring a professional:
- Fixtures at very different heights
- Complicated plumbing issues
- Limited experience with power tools
- Critical areas like bathrooms or kitchens
Final Thoughts
Tile installation is an art form. With careful planning, the right tools, and patience, you can achieve a professional-looking result that makes you proud. Elbow grease can’t be avoided, but proper techniques minimize effort.
Remember: Measure with care, cut with precision, and don’t hesitate to ask for assistance when necessary.
By following these comprehensive strategies, you can achieve a professional-looking tile installation that seamlessly works around existing fixtures. Remember to measure carefully, plan meticulously, and don’t hesitate to seek professional help when needed.


